
Get to Speed with ProtoPixel Mini Ethernet Controller
Follow these 4 simple steps to get started.

1. Open the package 📦
You will find all the items you need: the controller and a 3-way plug connector.
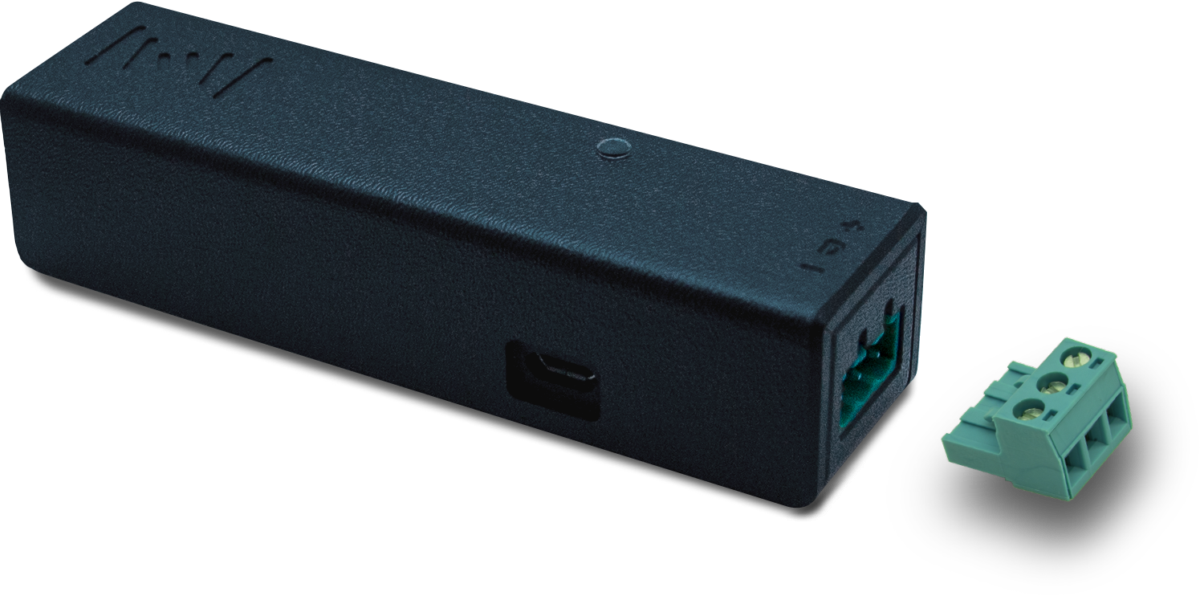
2. Power it up ⚡️
Connect it to your 5v or 12v LED strip* or fixture*.
(+)Means positive,(-)negative and(D)for data.
Plug in the power supply* and you will see the controller blinking and a light pattern through your LED fixture. As simple as that.
* Power supply and fixture are not included.
3. Pair it with ProtoPixel Create 🤝
Open our software ProtoPixel Create and add a controller.
It will automatically discover and configure the controller, so no extra steps are needed.
4. Send your content 🧑🎨
In ProtoPixel Create: add a fixture into your canvas, assign it to the controller and select a content from the Content Library or drag and drop your own.
Get ready to see your content being streamed directly to your LEDs.
Comments
0 comments
Article is closed for comments.