
Get to Speed with ProtoPixel Mini WiFi Controller

Follow these 4 simple steps to get started.
1. Open the package 📦
You get all the cables you need: None.
The 16 Gb micro SD card should already be inserted and loaded with some content.
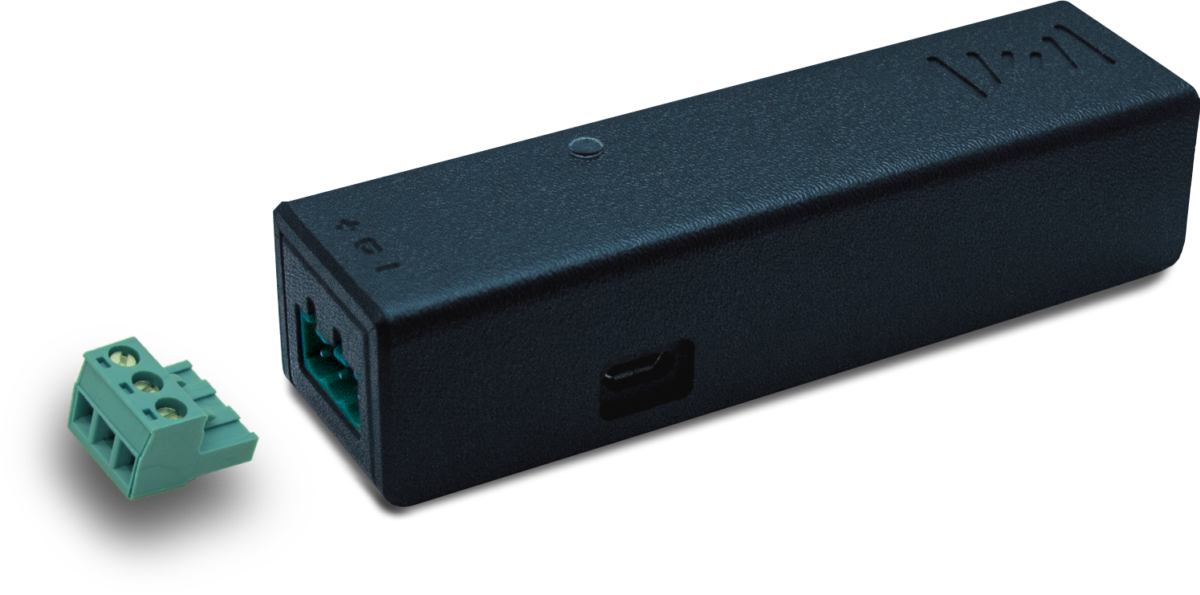
2. Power it up ⚡️
Connect it to your 5v or 12v LED strip* or fixture*.
(+)Means positive,(-)negative and(D)for data.
Plug in the power supply* and you will see the controller blinking and a light pattern through your LED fixture. As simple as that.
* Power supply and fixture are not included.
3. Connect to the Mini WiFi Controller 🤳🏿
In this example, we show you how to do it on iOS, but the best thing is that you can connect to the Mini WiFi Controller from ANY device 😎 . Just follow these steps:
Make sure your Wi-Fi 📶 of your device is turned on, search for the Wi-Fi access point on the list of networks, and connect to it.
HINT: You will find it as PPXwifi followed by 4 letters. Like this: PPXwific3c4
4. Take control 🎛️
Open a browser and navigate to192.168.4.1
Now tap on any of the factory recordings. You will see the light 😃
Comments
0 comments
Article is closed for comments.